QNAP package for Syncrify


Use the following instructions to download and install Syncrify on your QNAP device.

  1. First, download the Syncrify QNAP package from here
  2. The downloaded zipped archive contains just one file: Syncrify_5.5.qpkg
  3.  Extract the Syncrify_5.5.qpkg file to a temporary folder on your local computer
  4. Connect to the web interface of your QNAP device and login using the admin account
  5. Before installing Syncrify, you will have to install JRE using the following steps:
    • Click the icon for App Center
    • Under Developer Tools, locate JRE and select Add To QTS. Click here for a screenshot.
    • If you do not see a link that say Add To QTS, that means JRE is already installed. The required version of JRE is 1.8
  6. Now you are ready to install Syncrify. Click Install Manually button on the upper right hand corner. Click here for a screenshot.
  7. Select the extracted Syncrify_5.5.qpkg file using the Browse button and finally click Install.
  8. Once the installation is complete, you should see Syncrify in your Home menu. Click here for a screenshot.
  9. Type the following URL in your browser to connect to Syncrify's web interface:

    http://YourQNAPHost:7800
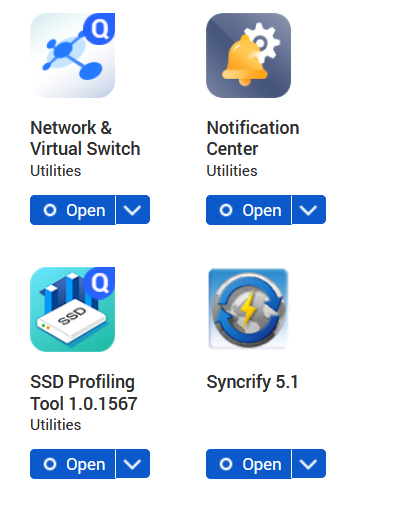
Important Notes:

There are a few subtle but important differences between Syncrify running on QNAP vs a regular Linux machine:
  • The default HTTP port on QNAP is 7800. On a regular server it is 5800. This change was done to avoid port collision with other services like VNC on QNAP.
  • The HTTPS port is turned on by default and will listen on 7900 allowing you to connect using the following URL:

    https://yourNasHost:7900

  • The default installation path on a regular Linux machine is /opt/Syncrify. However, this value on QNAP is /share/CACHEDEV1_DATA/.qpkg/Syncrify on QNAP. This is important in case you need to read/modify some advance configuration or access the log files to troubleshoot common problems

Navigation

Social Media

Powered by 10MinutesWeb.com