Synametrics Technologies
Revolving around the core of technology
Syntail » Administrator's guide
Quick Links
Installing SynTail on Mac OS X
The following section demonstrate how to install SynTail on a Mac machine.Steps
- Download SynTail from here
- Double click SynTailMacOSX.dmg file, which will mount the disk image.
- Drag SynTail.app to any desired folder for example /Applications
- Double click SynTail.app to run
- Once you see SynTail in the dock, click the secondary mouse button on the dock image and select Options/Run at login
- Using your browser connect to:
http://localhost:5800
Notice the URL says "localhost", which means you are connecting to the same machine where SynTail is running. If the browser is successfully able to display the welcome screen it means SynTail is correctly installed and is running.

Click the right arrow to proceed to the next screen.
-
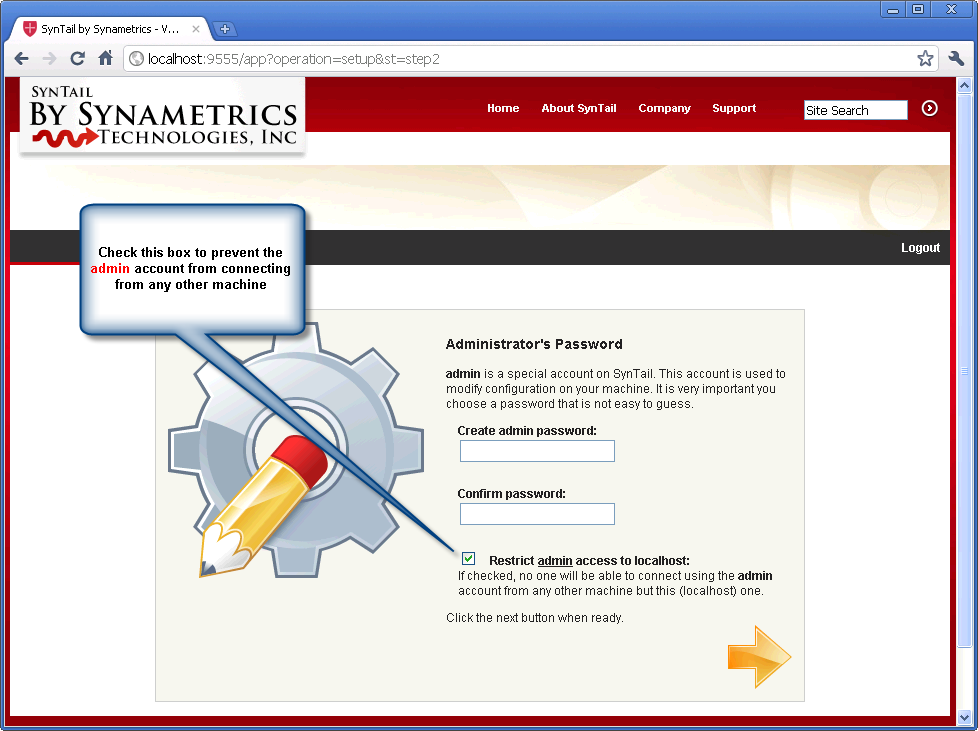
Specify a password for the admin account on the following screen. This will be the password you will be required to enter when logging in using the admin account.
Aside from the admin password, this screen contains a check box for restricting the admin account to localhost. No one will be able to connect as admin from any other machine but the localhost when this box is checked.
-
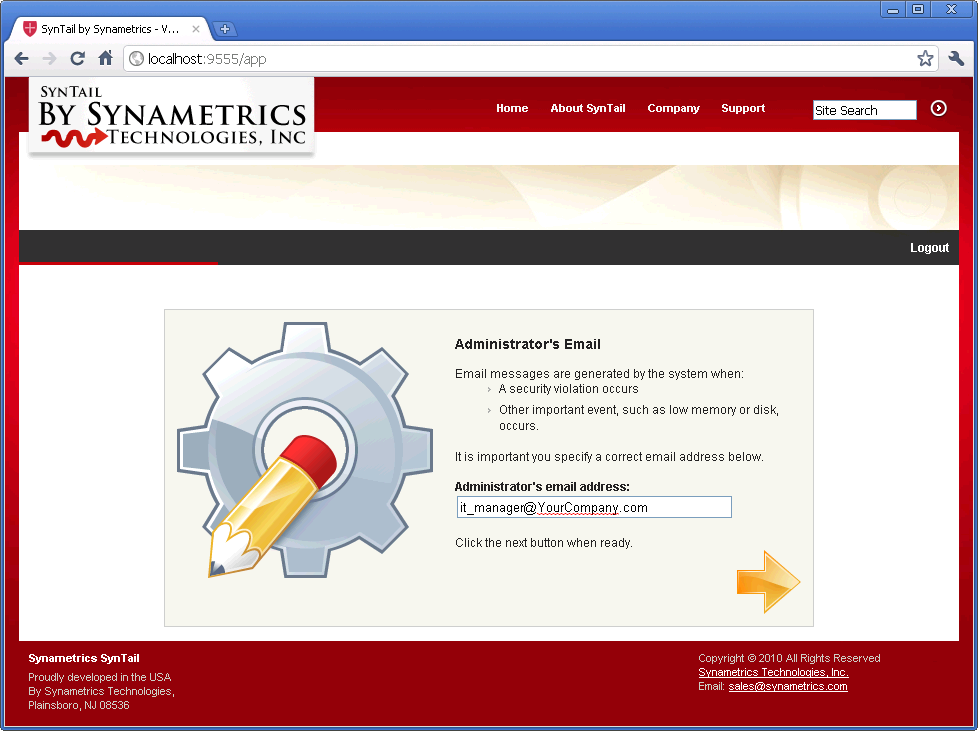
Next, specify the email address of the administrator. It is important to specify this value correctly. Since Syncrify runs in the background, the only way for it to communicated to you is via emails.
-
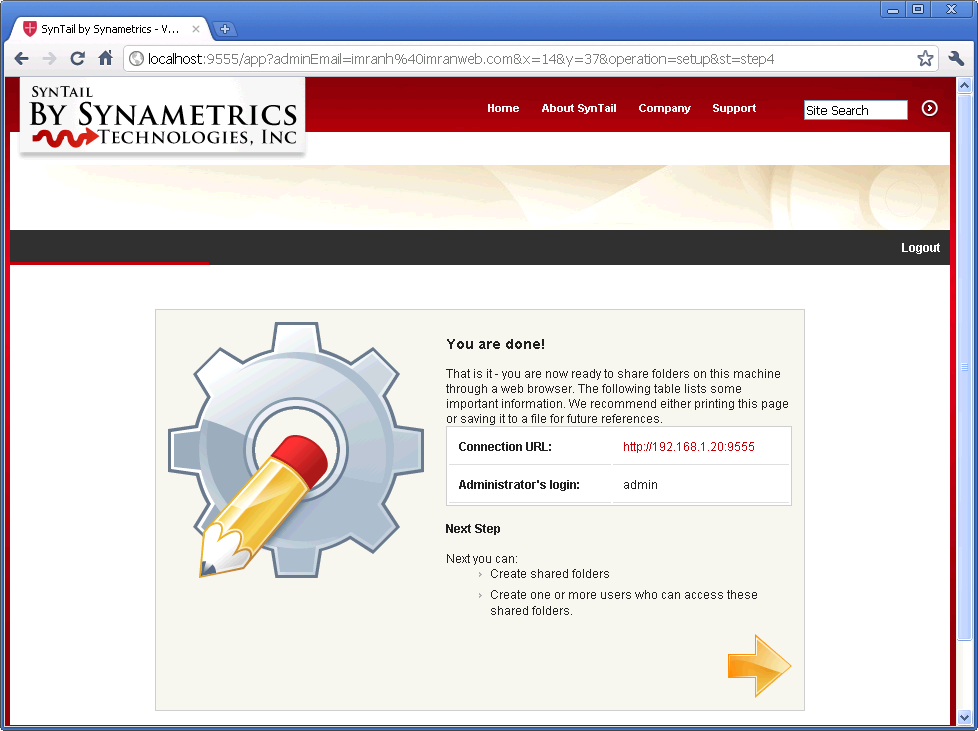
Finally, the last setup screen is displayed. This screen displays the URL you need to connect to the web interface from any other machine.
-
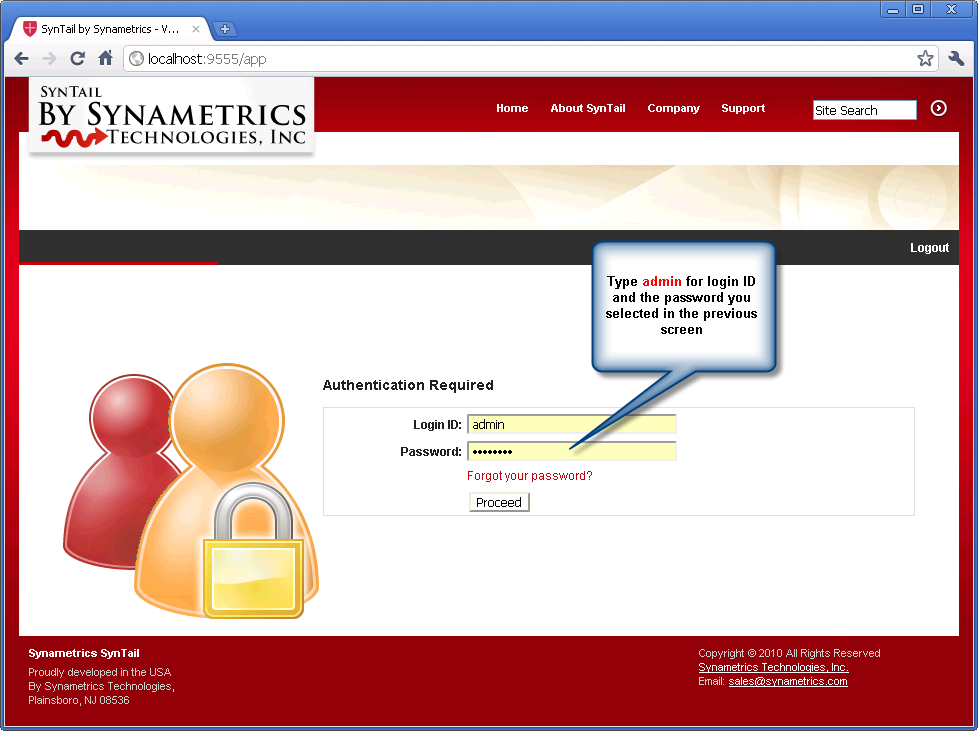
When you click next, the main authentication screen is displayed. Specify admin for Login ID and the password you chose earlier.
-
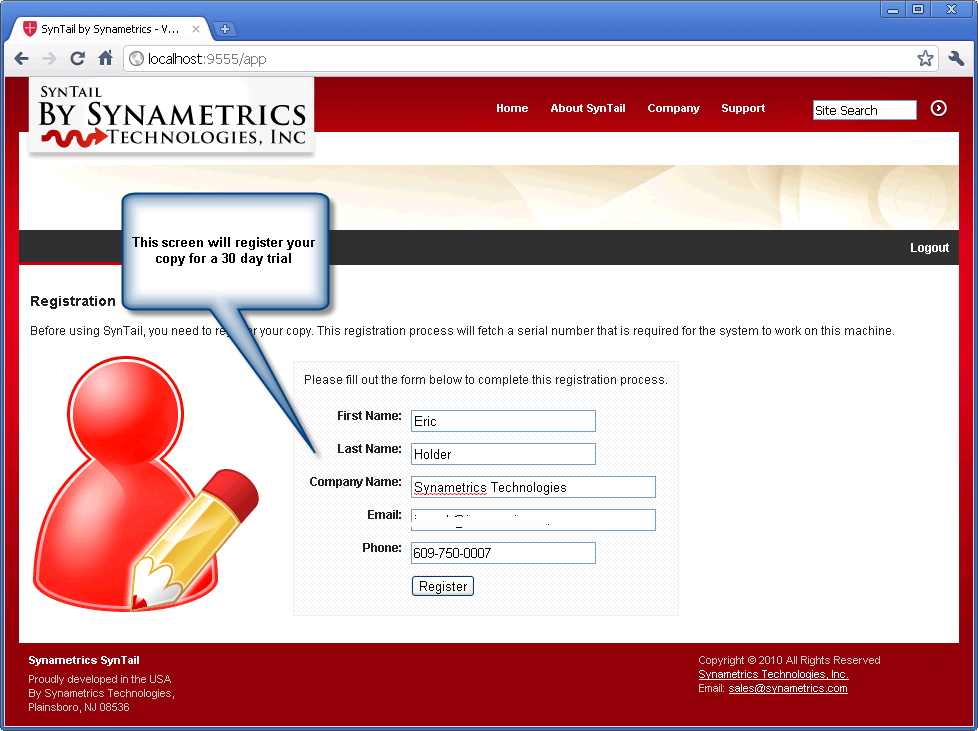
The next screen registers your copy of SynTail. This is a necessary step and enables your 30-day trial period.
