Synametrics Technologies
Revolving around the core of technology
Syncrify » Administrator's Guide
Installing Syncrify on Linux
The following section demonstrates how to install the Syncrify server on a machine running Linux OS. This article does not apply to the Syncrify Client installation. Click here to learn about installing Syncrify on a client machine.Steps to install Syncrify
- First, download Syncrify Server from here.
- Log in as root
- Download the installer
- Extract the tar file using the following command
tar -xf SyncrifyLinux.tar
- Ensure the permissions for Install.sh is set as an executable. If not,
use the
chmod +x Install.shcommand to change its permission - Execute Install.sh script
- By default, the installation script will install the server in
/optfolder. You can change this location to any other value if desired. Additionally, it will create necessary scripts in/etc/init.d/folder so that the server comes up when you restart the machine. - Using your browser connect to
http://localhost:5800
Notice the URL says "localhost", which means you are connecting to the local machine. If the browser is successfully able to display the welcome screen that means Syncrify is correctly installed and is running.
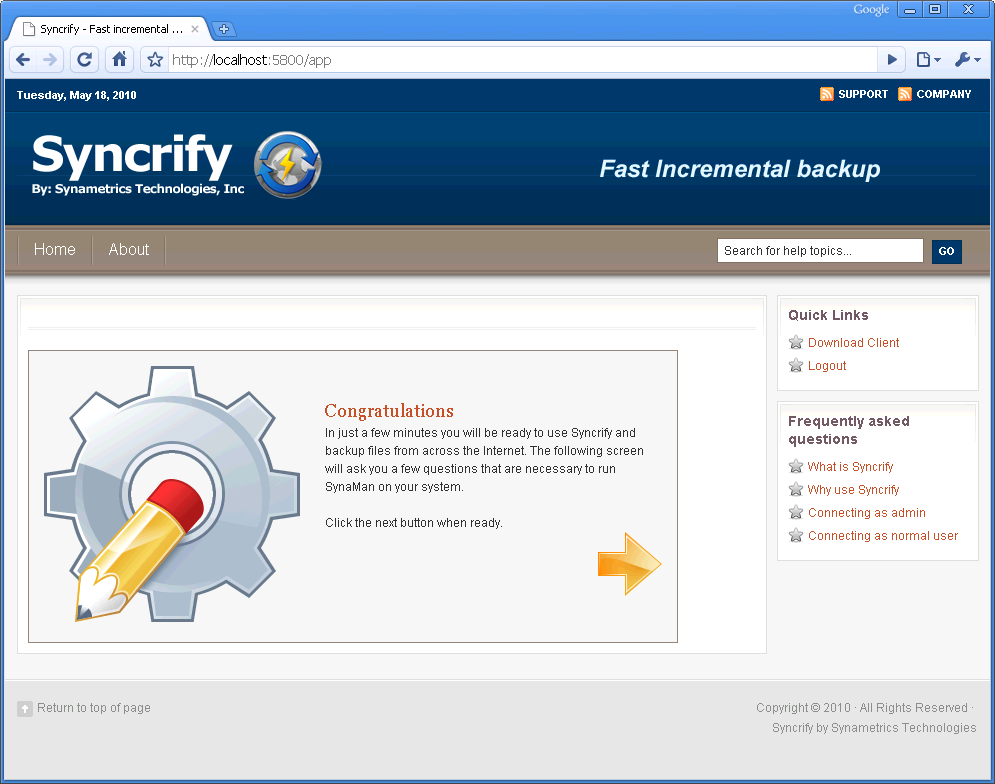
-
Click the right arrow to proceed to the next screen. Specify a password on the next screen. You will need this password whenever you want to connect as admin.
Besides the admin password, this screen contains a check box for restricting the admin account to localhost. When this box is checked, no one will be able to connect to Syncrify using the admin account from any other machine even if they know the password.

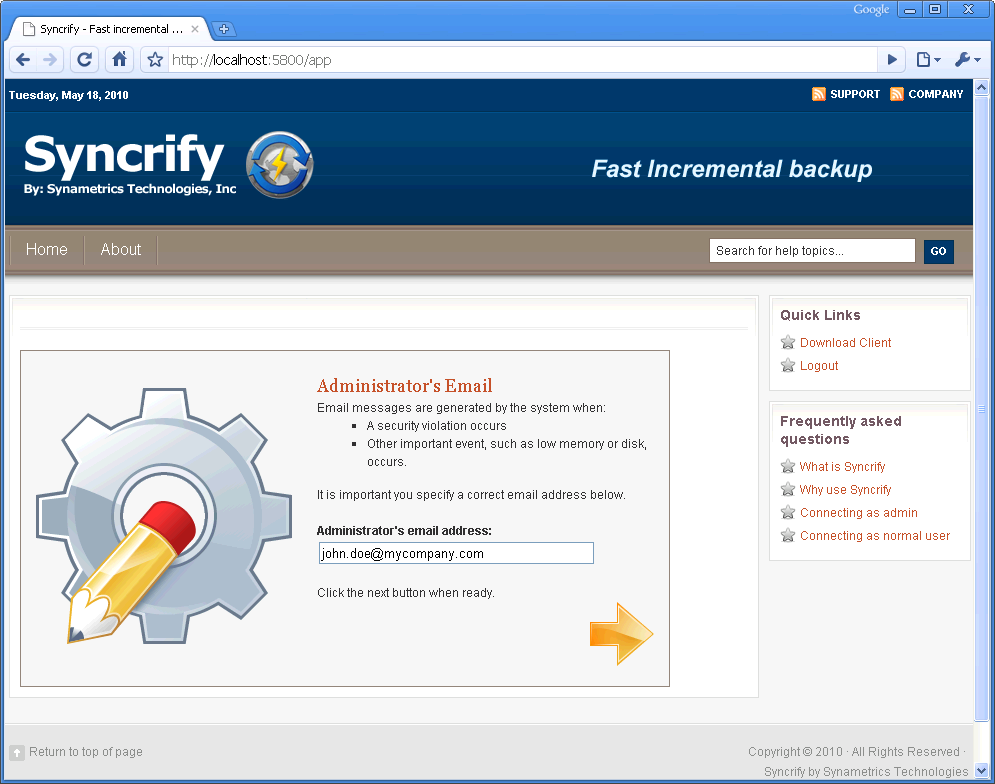
-
Next, specify the email address of the administrator. It is important you specify this information correctly. Since Syncrify runs in the background, the only way for it to communicate to you is via emails.
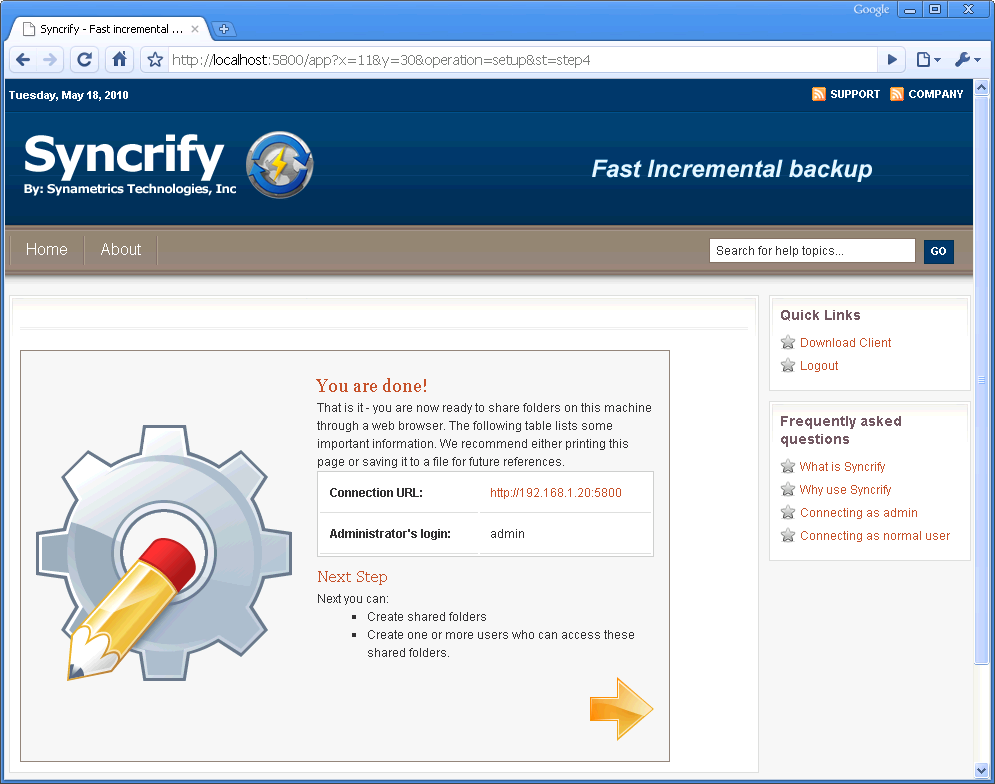
-
Finally, the last setup screen is displayed. This screen displays the URL you need to connect to the web interface from any other machine.
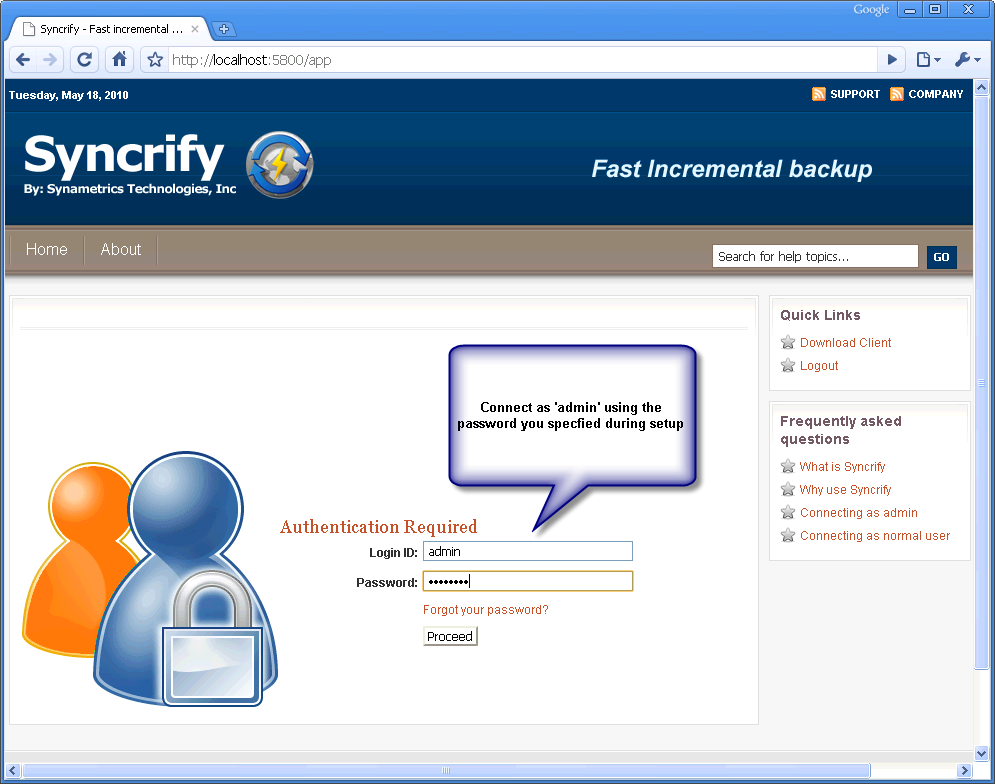
-
The main authentication screen is displayed once the setup is complete. To login, specify admin as the user ID and the password you created during setup.
-
Finally a registration screen is displayed.

