Synametrics Technologies
Revolving around the core of technology
Getting Started with SynaMan on AWS GovCloud
This part of the article goes over the initial setup of adding SynaMan Instance to your EC2.-To get instructions for installing SynaMan (Part 2), please see here.
-For post-installation configurations (Part 3), please see here.
Step 1
Log into the AWS GovCloud administrator web interface. Please note this account is separate from your regular AWS credentials: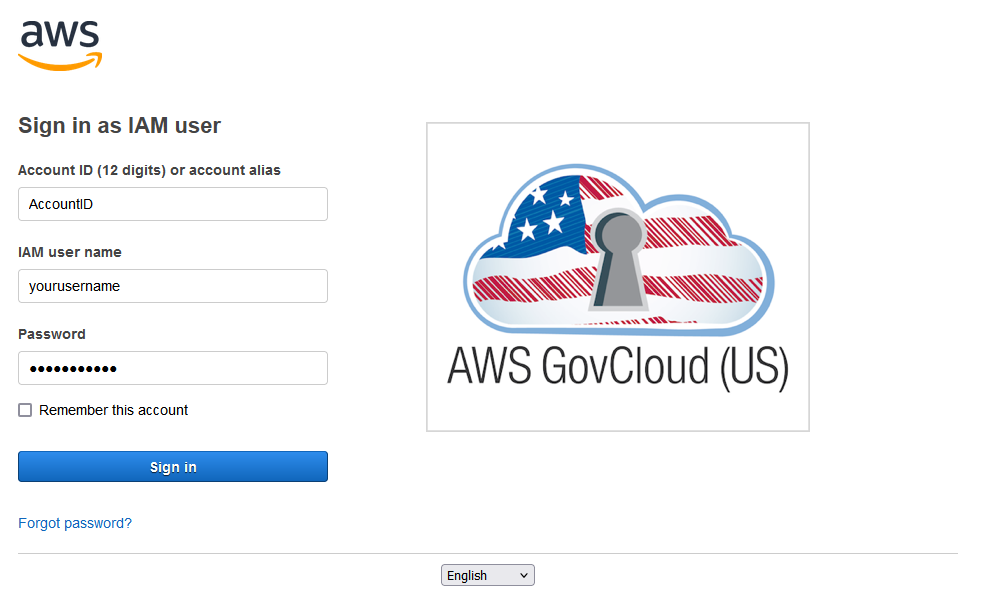
Step 2
Once logged in, on the search bar, look for EC2. Next, click on EC2: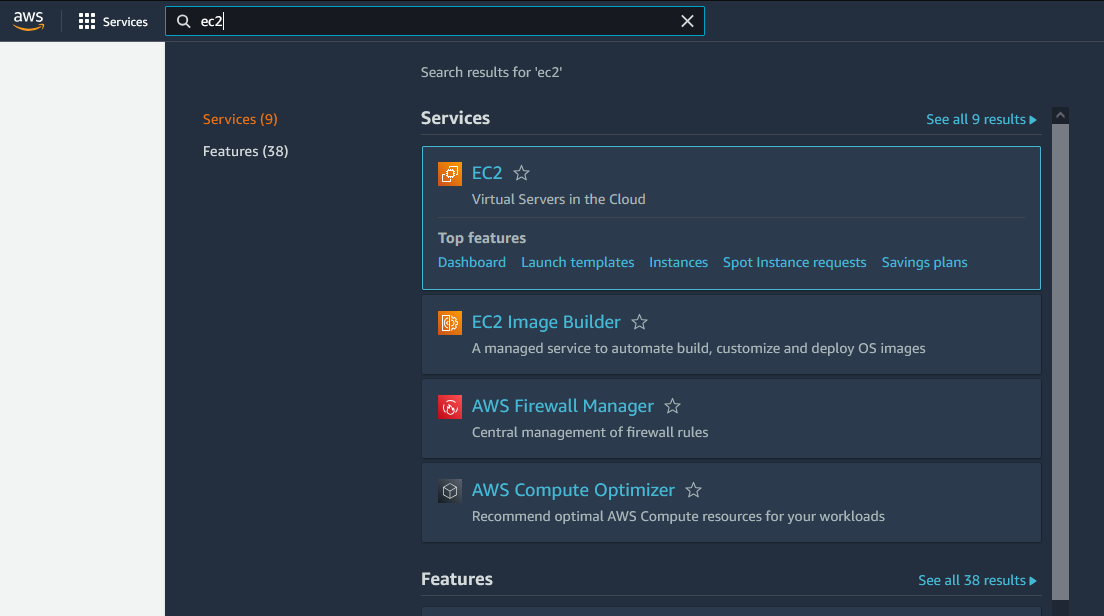
Step 3
You should see your EC2 dashboard. Here, click on "Launch instance" as shown below: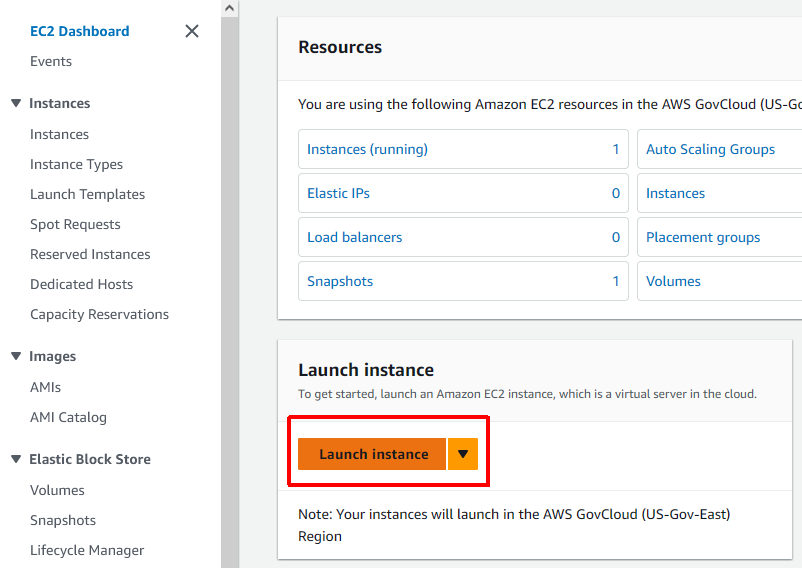
Step 4
Set up a name for the instance, then search for SynaMan GovCloud in the list of AMI.Step 5
Next, choose the instance type. We recommend t3 medium, but you can select other instance types:
Step 6
Create or use your existing key pair. The keypair is used to connect to your EC2 instance through SSH. More information about this here.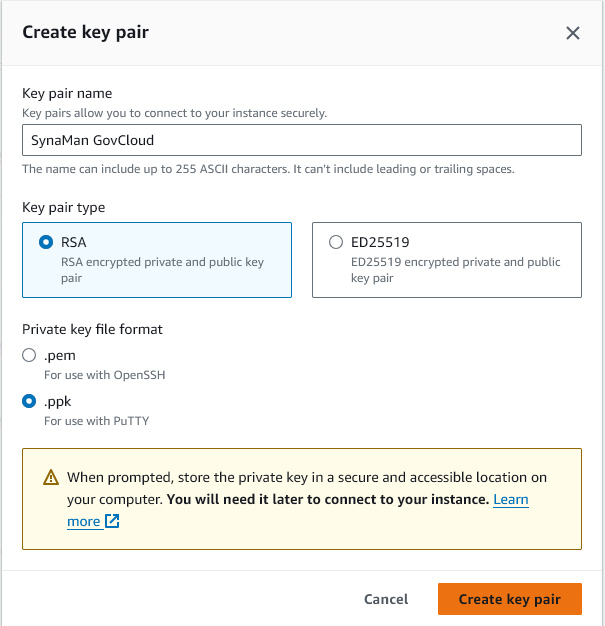
Step 7
You'll then have to configure the network settings. Click on edit to allow certain ports. You will need to allow the following ports:- 6060 (for the initial setup. You can disable this later)
- 80 (HTTP)
- 443 (HTTPS)
- 22 (SSH)
- 21000 (For Accelerated port feature in SynaMan, discussed in part 2):

Step 8
Specify how much storage you need on this instance. You can modify the value of this storage at a later point if needed.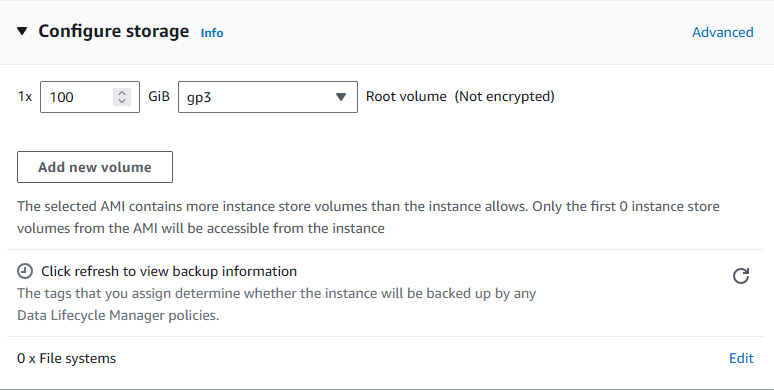
Step 9
Once done, click on Launch instance.Step 10
To view the instance dashboard, click on Instances on the left side of the EC2 side menu: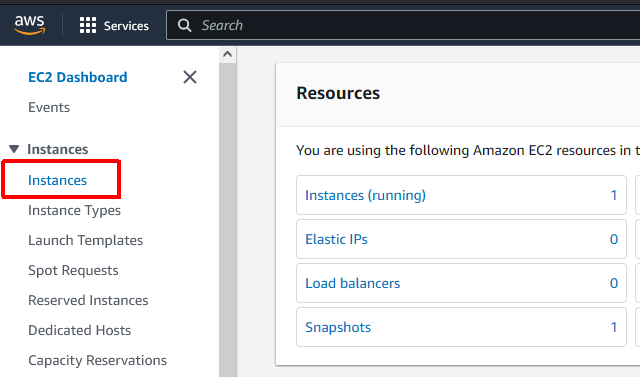
Step 11
You should see the Instance here. Click on the checkbox to view the Instance details:
Step 12
You will see the public URL for this instance. Click on "open address":
Step 13
For now, the page will not open when you click the link. In the address bar, change the protocol from https to http, and then put 6060 at the end. Press enter, and you will now see the initial setup: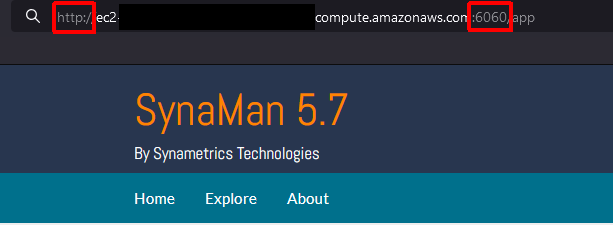
Note: The initial setup will configure SynaMan to be accessible on ports 80 and 443 in the setup, so you can access the SynaMan interface normally.
