Synametrics Technologies
Revolving around the core of technology
Getting Started with SynaMan on AWS GovCloud - Part 2
This part of the article goes about installing SynaMan on your EC2 instance.-To get previous instructions for adding SynaMan Instance on EC2 (Part 1), please see here.
-For post-installation configurations (Part 3), please see here.
Step 1
SynaMan will initially provide you with the administrator's password. It is very important to save this password somewhere else, as you will need it to log in after completing the initial setup.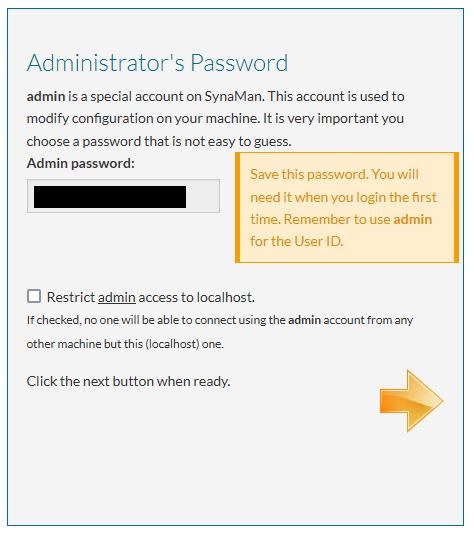
Step 2
Specify the administrator's email. On the next page, you will be asked to input the email settings. Please consult with your email provider's documentation for the correct SMTP values: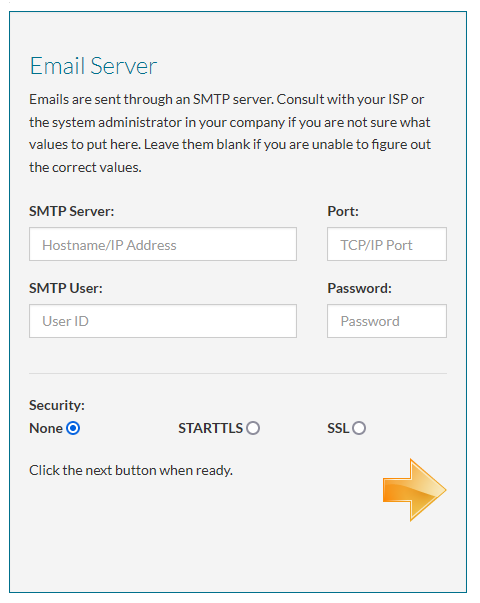
If you're not sure what values to enter, you can skip this step and complete it at another time.
Step 3
SynaMan will then ask you for additional ports. We recommend you use the default values provided on the page as shown below: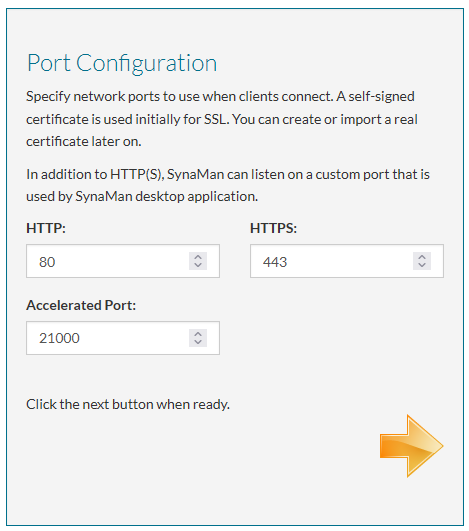
Step 4
SynaMan will prompt for the default user's home folder. This home folder will be created when a user is created in SynaMan. The current hostname is set to the EC2 public name. You can configure to change this later once you've established your public domain to point to SynaMan (See step 3):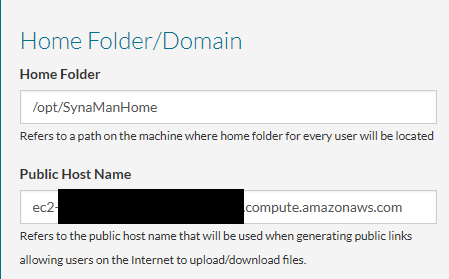
Step 5
The initial setup is complete. Click on next, which will take you to the login page. To log in as administrator, put admin in the username, then specify the password on step 1 where it was provided to you.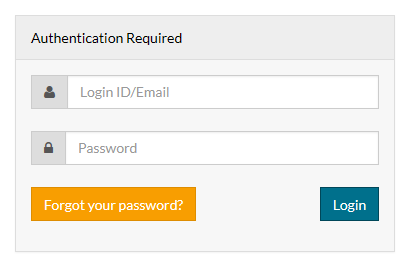
Step 6
After logging in, you will need to register SynaMan. Fill out the information, then click on Register: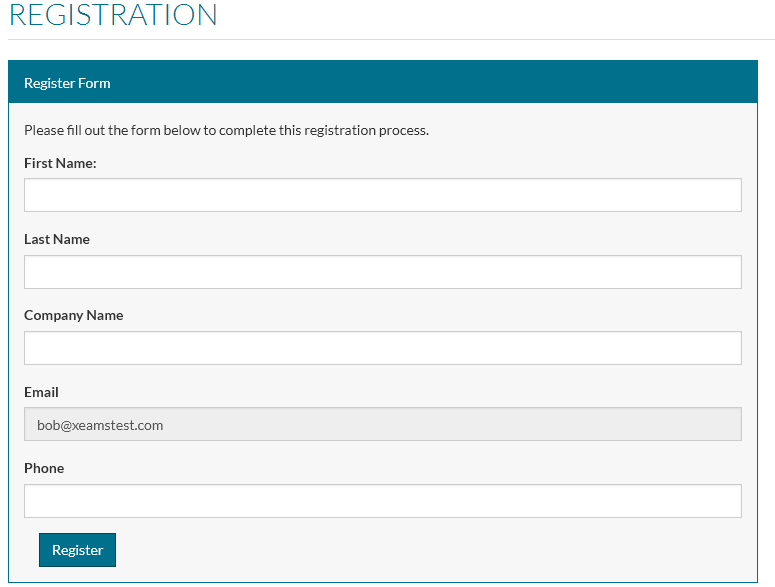
Step 7
SynaMan will then ask to be restarted since additional ports were added in the initial setup: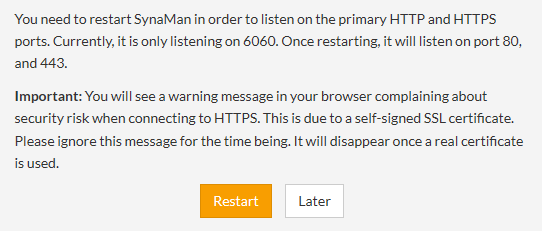
Click on Restart. You should now be able to normally access the web interface in the EC2 instances page by clicking on the "open address link":
Step 8
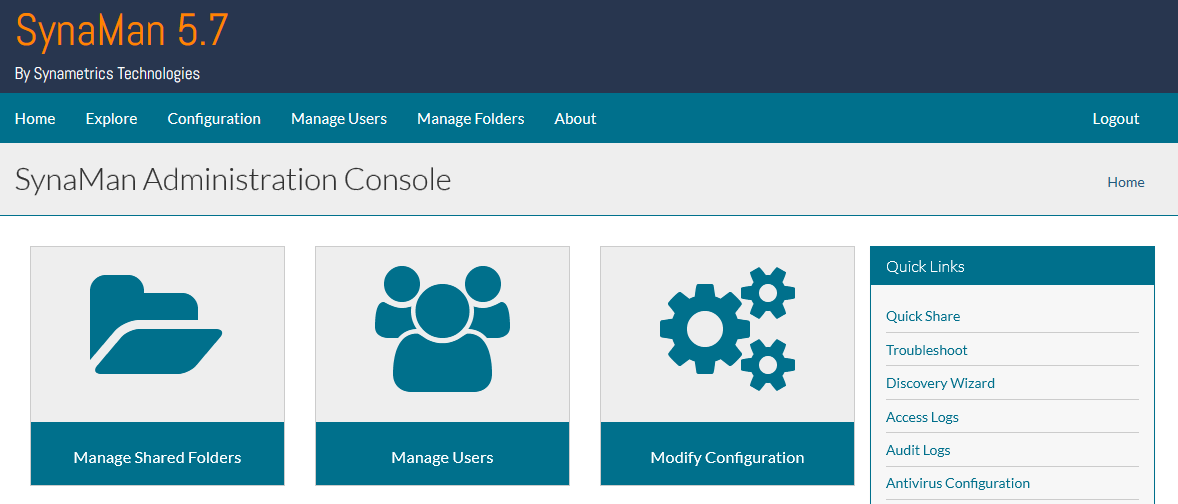
Once restarted, log in as admin again, and it should now take you to the home page: