Synametrics Technologies
Revolving around the core of technology
Using Microsoft Azure OpenAI to facilitate tasks with relational databases
This page discusses how to use Azure AI when working with relational databases. It walks through the steps to create an API key and then uses that key with WinSQL to chat with Azure OpenAI.
Azure OpenAI serves as the backbone for tools like Microsoft Copilot 365, which is integrated with products like MS Word, Excel, Teams, and others.
Benefits of Using Azure OpenAI vs calling an LLM directly
Using Azure offers the following benefits:
- Enterprise-grade security and compliance: Azure provides built-in security features, enterprise-grade SLAs, and helps meet compliance requirements like GDPR and HIPAA.
- Responsible AI guardrails: The platform includes safety systems and content filtering to help detect and mitigate harmful or ungrounded content before deployment.
- Integrated ecosystem: Azure AI services are deeply integrated with other Azure services, making it easier to build end-to-end AI solutions.
Prerquisites
You will need the following before using Azure OpenAI
- An Enterprise Account with Microsoft. Visit https://portal.azure.com to create one.
- WinSQL Professional.
Instructions For Creating An API Key
- Visit https://portal.azure.com and log in.
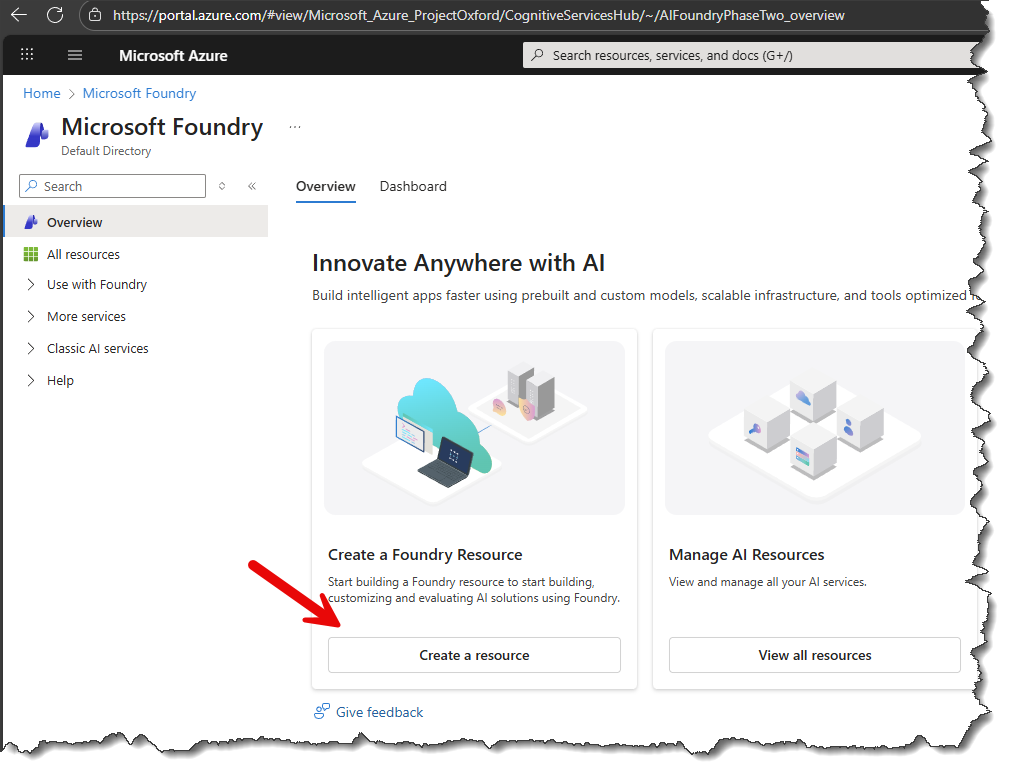
- In the search bar towards the top, search for Microsoft Foundry.
- Click the Create a resource button, as shown below.
- Select an existing Subscription, Resource group, and specify a default project name.
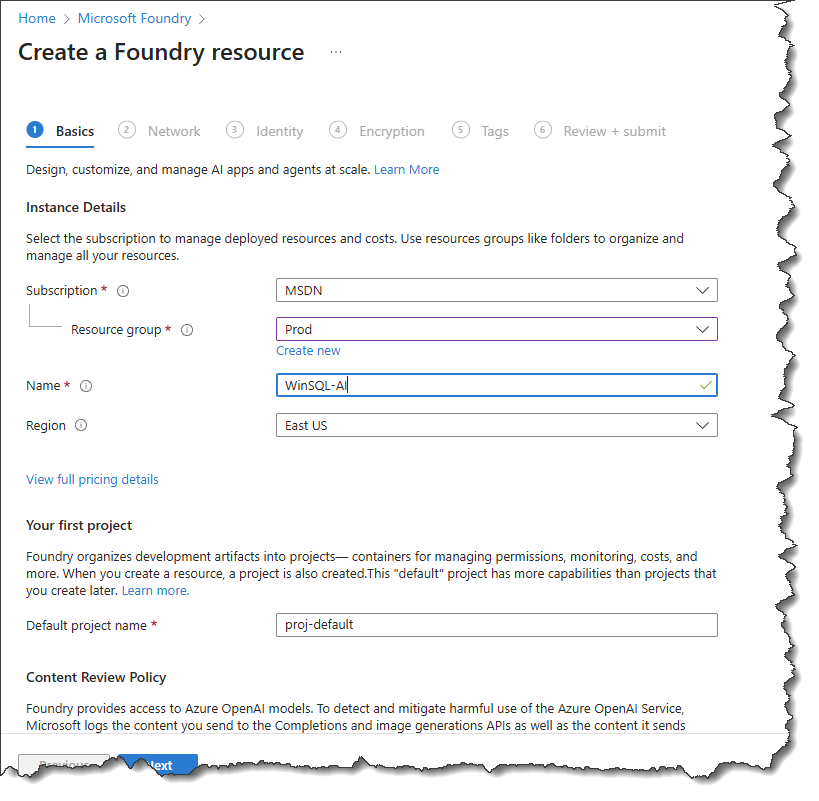
- Using the Network tab, you can specify IP addresses or a private endpoint to limit access to this resource.
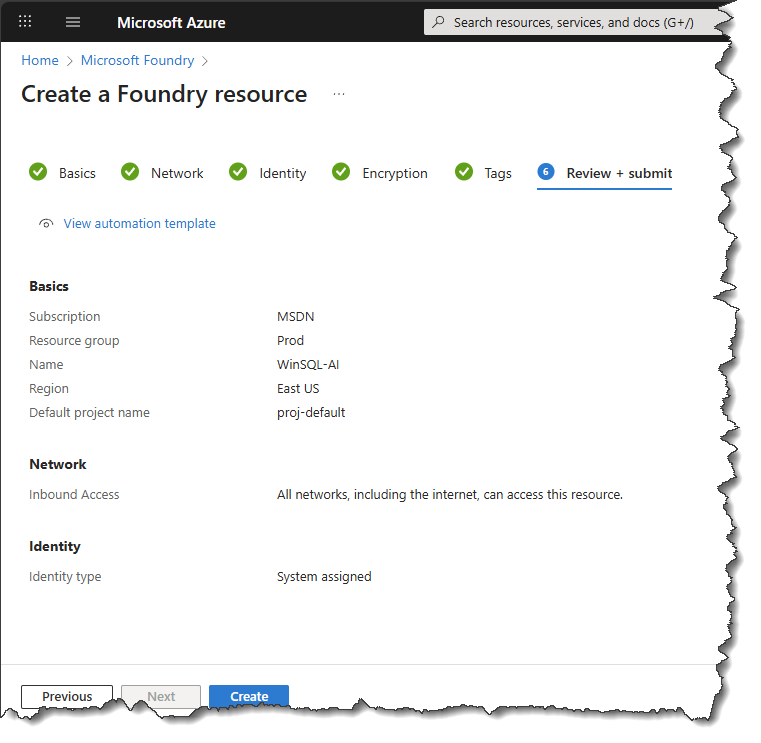
- Leave the default values for the remaining tabs.
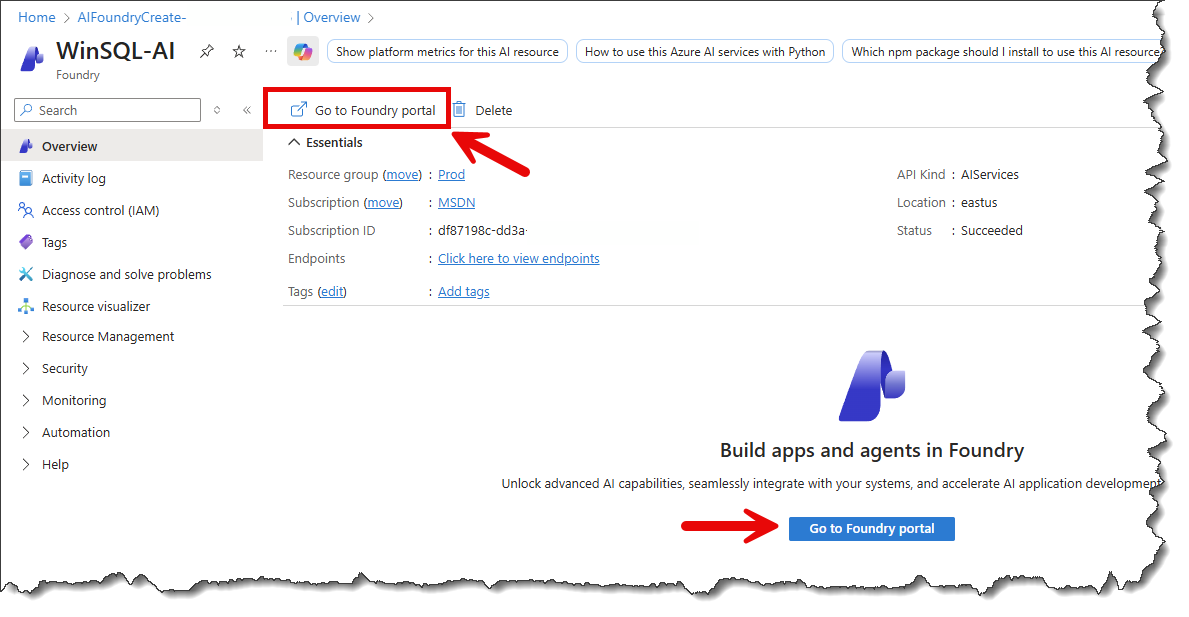
- Finally, click the Create button. This will deploy the resource, which may take a few seconds. You should see a screen like this.
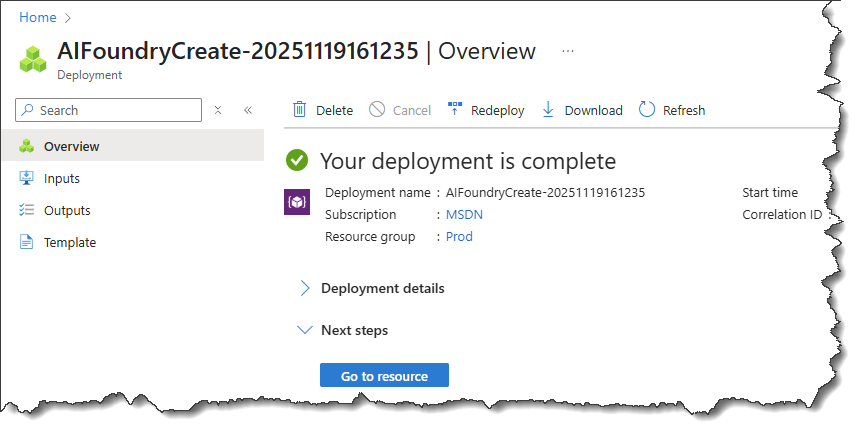
- Next, you need to assign the AI models that you wish to use with this resource. Click the Go to Foundry portal button, as shown below.
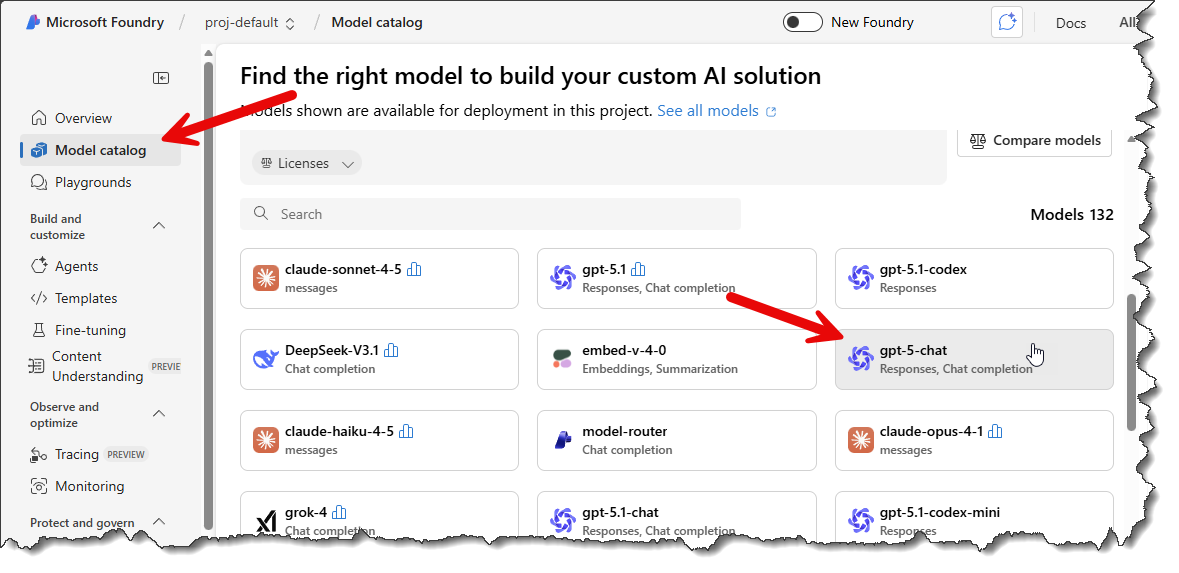
- Next, you must assign one or more AI models to this resource. Click the Model Catalog link on the left-hand pane. For example, you can choose gpt-5-chat, as shown below.
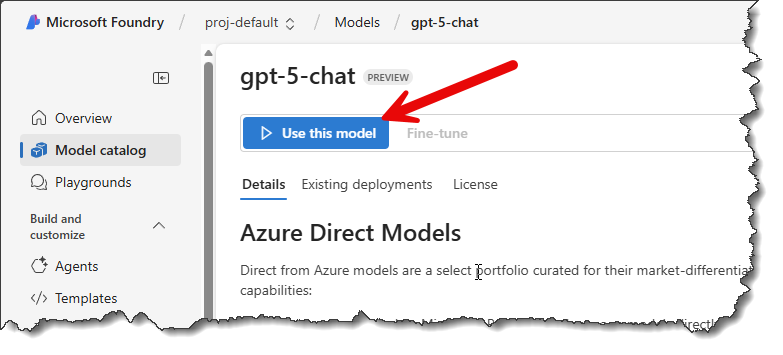
- Next, click the Create resource and deploy button. This step will take a few seconds to complete.
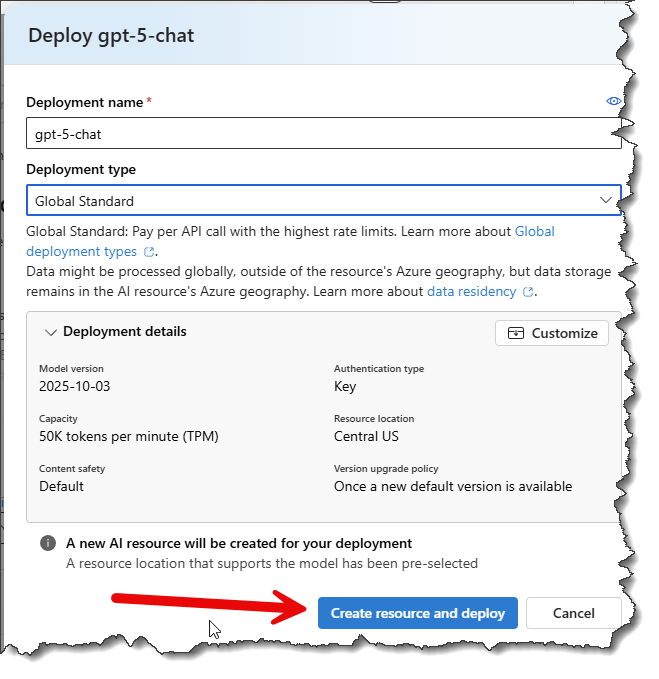
- Finally, copy the values for:
- Target URI - also known as the Endpoint URL
- Api Key
- The value for the model, which in this image is gpt-5-chat

At the end of these steps you will have three pieces of information:
- Endpoint URL
- API Key
- Model Name
Configuration in WinSQL
- Open WinSQL and connect to a desired database
- Click the AI Chat tab, then click the Configure button.
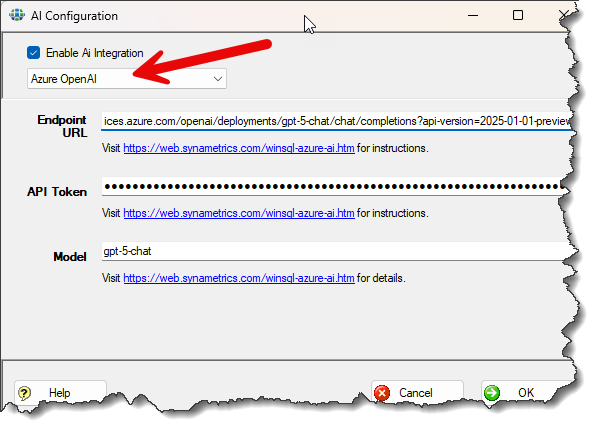
- Finally, select Azure OpenAI from the available providers and paste the values you created earlier on Microsoft's site, as shown below.
Benefits of Using AI with Relational Databases
Using AI with an SQL tool like WinSQL when working with relational databases offers many benefits. Here are some of the benefits:
1 - Writing SQL queries in plain English (or any other language)
AI allows users to interact with the database using plain English or other natural languages, eliminating the need to memorize complex SQL syntax.
For example:
Write a SQL query that pulls customers who have not paid their bill for the past three months.
In the above example, the AI agent will first determine the tables that are relavent to your question and then give you a detailed SQL statement that can pull results.
2 - Enhanced Query Optimization and Performance
AI tools analyze the database structure and execution patterns to recommend and apply improvements, ensuring queries run as fast and efficiently as possible.
Consider the following user prompt:
I am running the following query but it takes more than a minute to complete. What can I do to improve performance:
SELECT * FROM Customers c INNER JOIN PhoneLog p ON p.cust_id = c.cust_id WHERE calldate between '1/1/2025' and 1/5/2025'
In the above example, the AI agent will look into your query and may suggest adding an index on the calldate column to speed runtime performance.
3 - Understanding Database Design
Assume you're working on a new project with many tables and you want to quickly understand the its purpose. Consider entering the following prompt.
Review the table designs in this database and provide a thorough analysis of the database's purpose and design.
