Synametrics Technologies
Revolving around the core of technology
How Dentists can back up Open Dental
Open Dental is a highly customizable, practice management system for dental offices that handles scheduling, billing, and patient records. Open Dental is built on an open database structure, giving dental practices more control over their data and how they use it. One key advantage of using Open Dental is its compatibility with specific databases, such as MySQL and its successor, MariaDB.
When installing Open Dental for the first time, it will list the default directories, including the databases. When using these databases, data must be kept safe and secure, especially from theft or system malfunctions. With this in mind, backups of these databases must be taken in case something goes wrong. If the database goes down, many records will be lost, including patient charts, financial records, and appointment histories. Without access to this data, scheduling, billing, and patient care will come to a halt, resulting in severe economic losses and compliance risks.
Which Open Dental files should I back up?
Open Dental recommends backing up specific directories on their website. Here are the files that should be backed up in case of a data loss:- OpenDentImages - These files contain images, such as patient images & X-rays, as well as other scanned documents. These are critical files and should be backed up. By default, these files are saved in the C:\OpenDentImages\ directory.
- Open Dental Database - These are database files for Open Dental. Similar to OpenDentImages, these files are critical for backup because they contain essential data, such as patient and appointment information. By default, they are put in C:\mysql\data
Which Backup Solution should I use?
Many companies on the internet provide backup solutions to a 3rd-party cloud. However, this raises privacy concerns, especially if the database contains sensitive patient medical information, especially in the OpenDentImages directory. To solve this, it's recommended to use a backup solution that is easily accessible and keeps the data under your control. One such solution is Syncrify.Syncrify provides a quick, easy way to back up database files and restore them to normal if something goes wrong. The section below demonstrates how to back up and restore Open Dental files in Syncrify.
How to use Syncrify to back up and restore Open Dental files
Open Dental is bundled with MariaDB and can also be used with MySQL. You can use the Syncrify plugin to back up and restore database data in case something goes wrong. The steps below demonstrate how to back up a demo database and images that are in Open Dental, and also provide instructions on restoring these files with Syncrify. This step assumes you have Syncrify Server up and running, with an existing user.Configuring Syncrify and backing up Open Dental files
1. On the machine running Open Dental, install Syncrify Client.2. Connect to the Syncrify Server by specifying the credentials and the Remote Server URL in the connection parameters.
3. Ensure it can connect by clicking on the Icon:
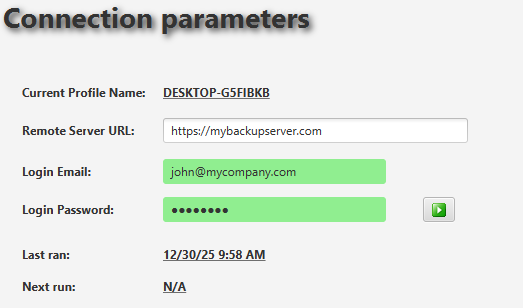
If the connection is successful, the parameters will be highlighted in green.
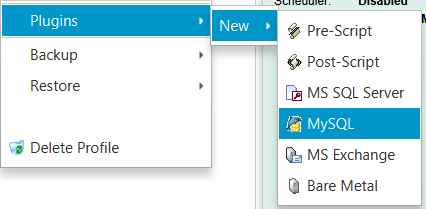
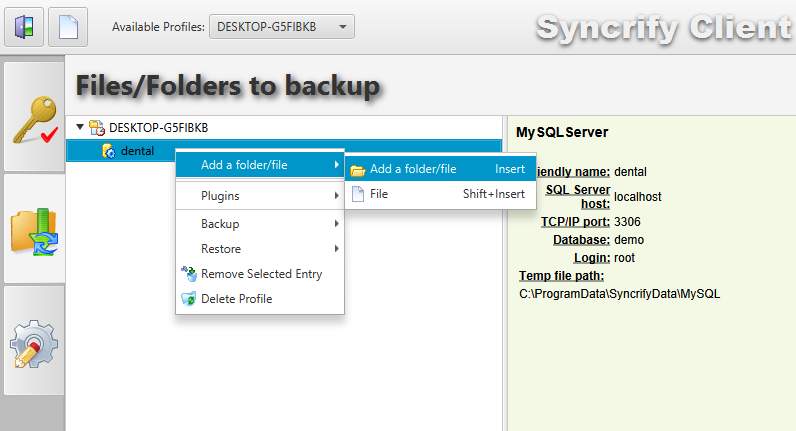
4. In the files/folders to back up, right-click the Profile name, go to plugins, click New, then select MySQL:
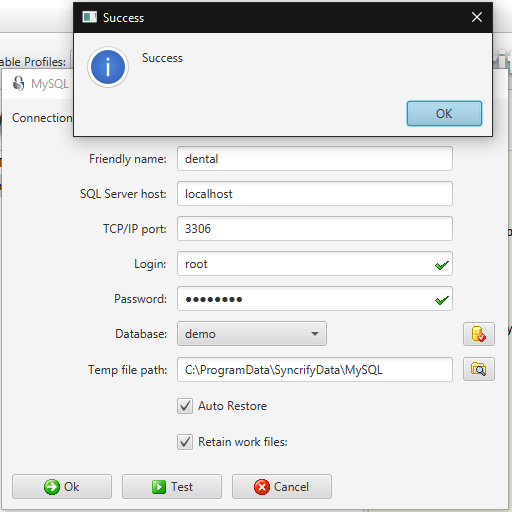
5. Specify the parameters below:
- Friendly Name: Any name of the plugin. For example, dental.
- SQL Server host: The location of the MySQL server. This should be localhost if Open Dental and Syncrify Client are running on the same machine.
- TCP/IP port: The port number for MySQL. This should be 3306.
- Login: The login ID for MySQL you've set in the initial setup for Open Dental. For example, root.
- Password: The login password. This was also set in the initial setup for Open Dental.
- Database: If the above values are correct, click on the Database icon to select the database you want to back up.
- Temp file path: The location where Syncrify creates a database backup on the local machine.
6. Once all values are filled in, click Test. It should now say success:
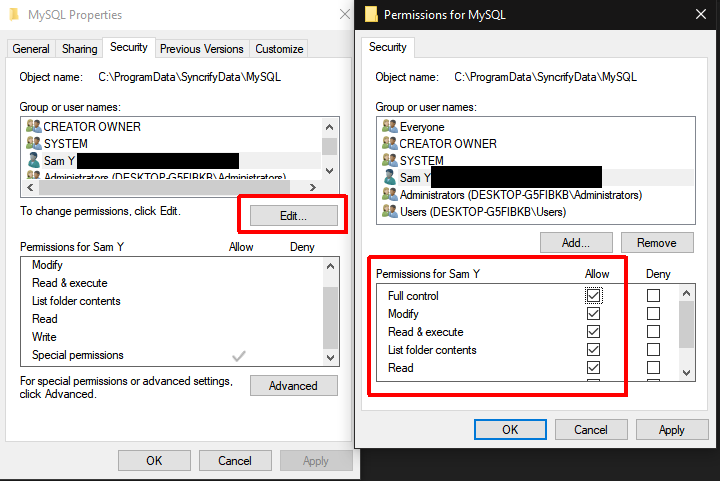
7. Click on OK to exit. IMPORTANT: Ensure the MySQL folder at the Temp file path has sufficient permissions. If not, right-click the folder in File Explorer and grant permissions to the folder:
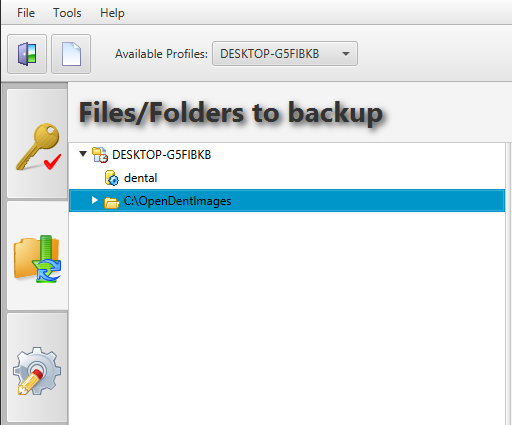
8. Once the permissions are set, the next step is to configure Syncrify to back up the images. In the Files/Folders to backup, right-click the Profile name, then go to Add a folder/file, then select Add a folder/file:
You should now see the folder where the images are stored in the Syncrify Client:
9. Once both the image folder and the database plugin are set, click on Backup to start backing up Open Dental files to your Syncrify Server.
Restoring Open Dental files with Syncrify
1. Once the backup is successfully completed, you can now restore the database if needed. For example, when connecting to the database demo, you get this error: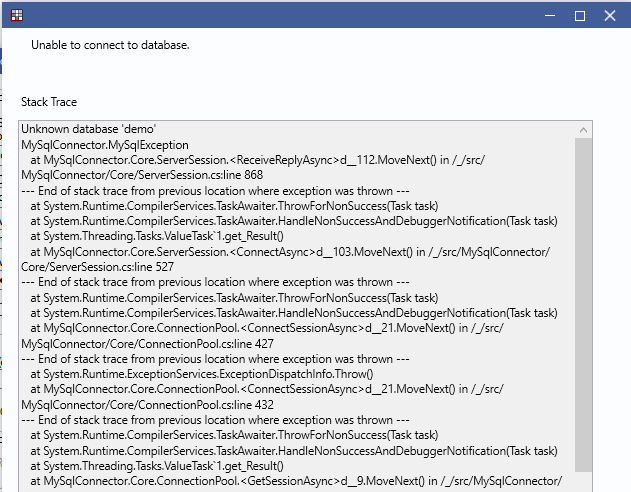
2. When checking the demo database files in the mysql folder, it appears that all of them are missing:
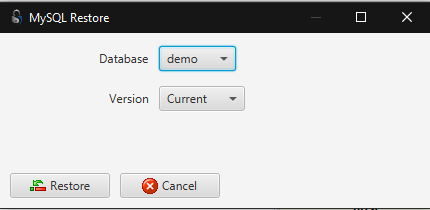
3. You can use Syncrify to restore the database. To do this, open the client, then right-click on the plugin to restore:

4. Select the database you want to restore. In this case, the demo database is being selected:
5. Once restored, you should see the database files back up again:

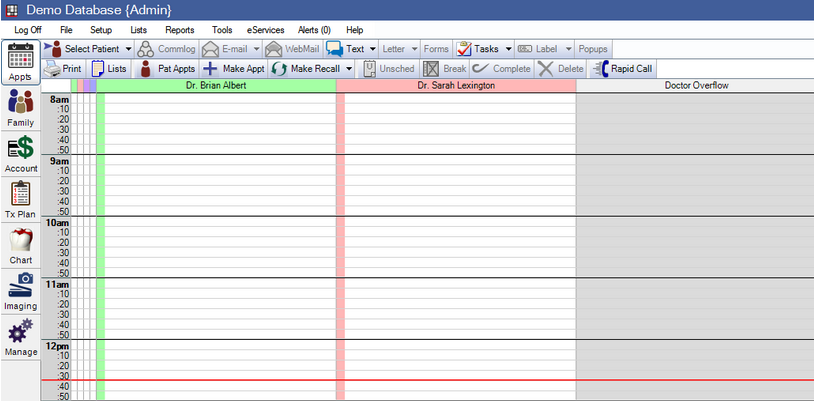
6. Open Dental can now connect to the Database:
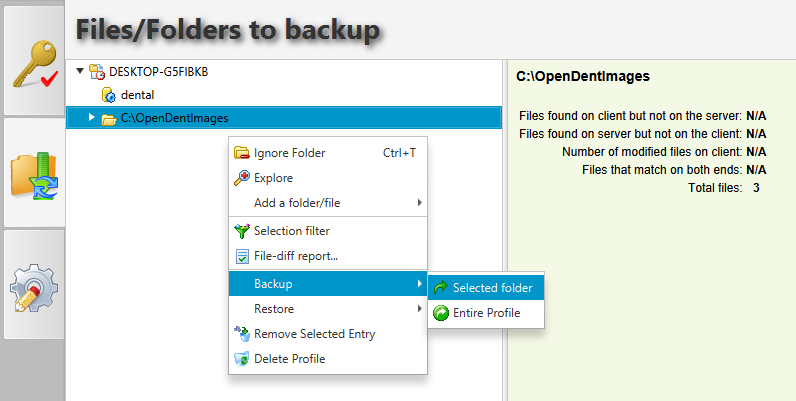
7. To restore the Open Dental images, right-click on the OpenDentImage folder, then go to Backup, then click on Selected folder:
| Created on: | Jan 16, 2026 |
| Last updated on: | Jan 19, 2026 |
